
Quick steps for OpenSceneGraph installation in Windows
Foreword
This tutorial is a complementary material on one of the previous articles, Quick steps for OpenSceneGraph installation on Linux. Its main purpose is to provide minimal necessary steps needed to install OpenSceneGraph (OSG) on Windows. The reason why I decided to dedicate a blog post to this while there is official guide is because I found few discrepancies between the official guide and what it took for me to perform clean installation on Windows 10 (as of the year 2016). Therefore, I wanted to take a note on those modified steps for future reference.
Prerequisites
I had completed my setup on Windows 10 machine using MSVC 2013 development environment. Up to this date (February 2016), it probably makes more sense to use MSVC 2015, however, I took into account that I will be doing OSG and Qt development, and I didn’t want to build Qt kit from source (there are no official Qt kits compiled using MSVC 2015 up to this date).
We will also need a CMake tool for building out of source; and git scm tool as source control that will allow to download OSG sources.
Download
To download the latest stable version (or the latest development version if you wish), clone from the official OpenSceneGraph github repository. Using the git bash command line, enter the following commands in a directory where you plan to install OSG, e.g., C:/OpenSceneGraph.
C:/OpenSceneGraph $ git clone https://github.com/openscenegraph/OpenSceneGraphAssuming you want to use the latest stable version of OSG, switch the branch inside the local repository:
C:/OpenSceneGraph $ cd osg
C:/OpenSceneGraph/osg $ git checkout tags/OpenSceneGraph-x.y.z
Replace the x.y.z with the numbers that correspond to the version you intend to use, e.g., 3.4.0.
Folder structure
For the setup I chose the next folder structure inside my C:/OpenSceneGraph:
osgis the cloned git repository, where the source files are kept3.4.0is the corresponding compiled versionmsvc2013-32bitis the compiler- and platform-dependent distribution
This structure allows me to always add different OSG versions while keeping the old ones, as well as being able to use different versions compiler- and architecture-wise.
Build and install
Generating .sln file using CMake
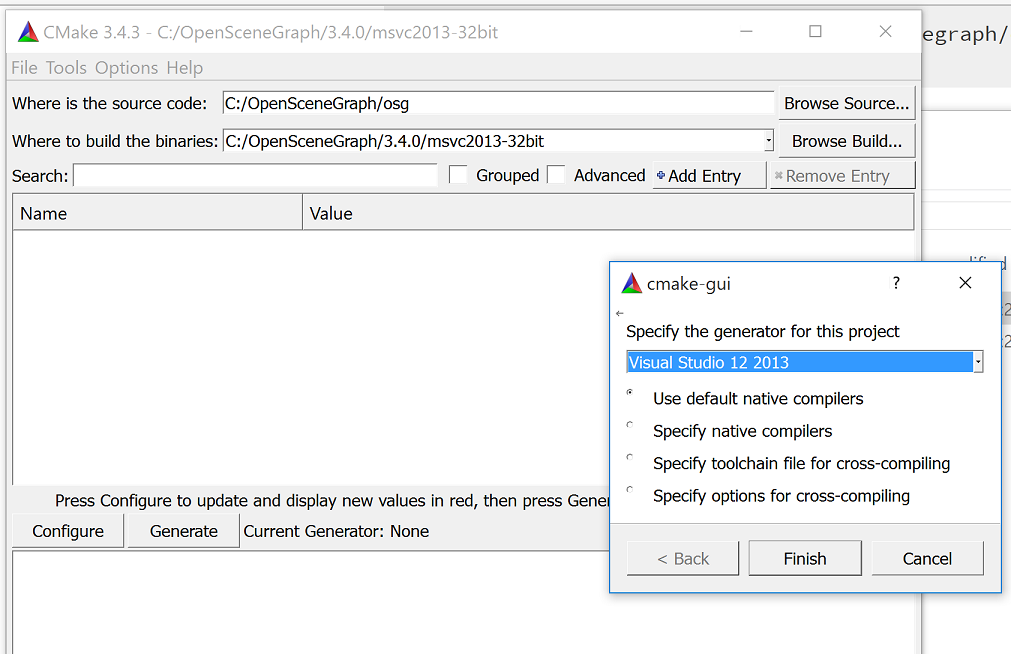
To build and MSVC solution project, we have to run CMake-GUI first. As a generator, specify Visual Studio 2013. Chose the source folder and build folder and hit Configure.
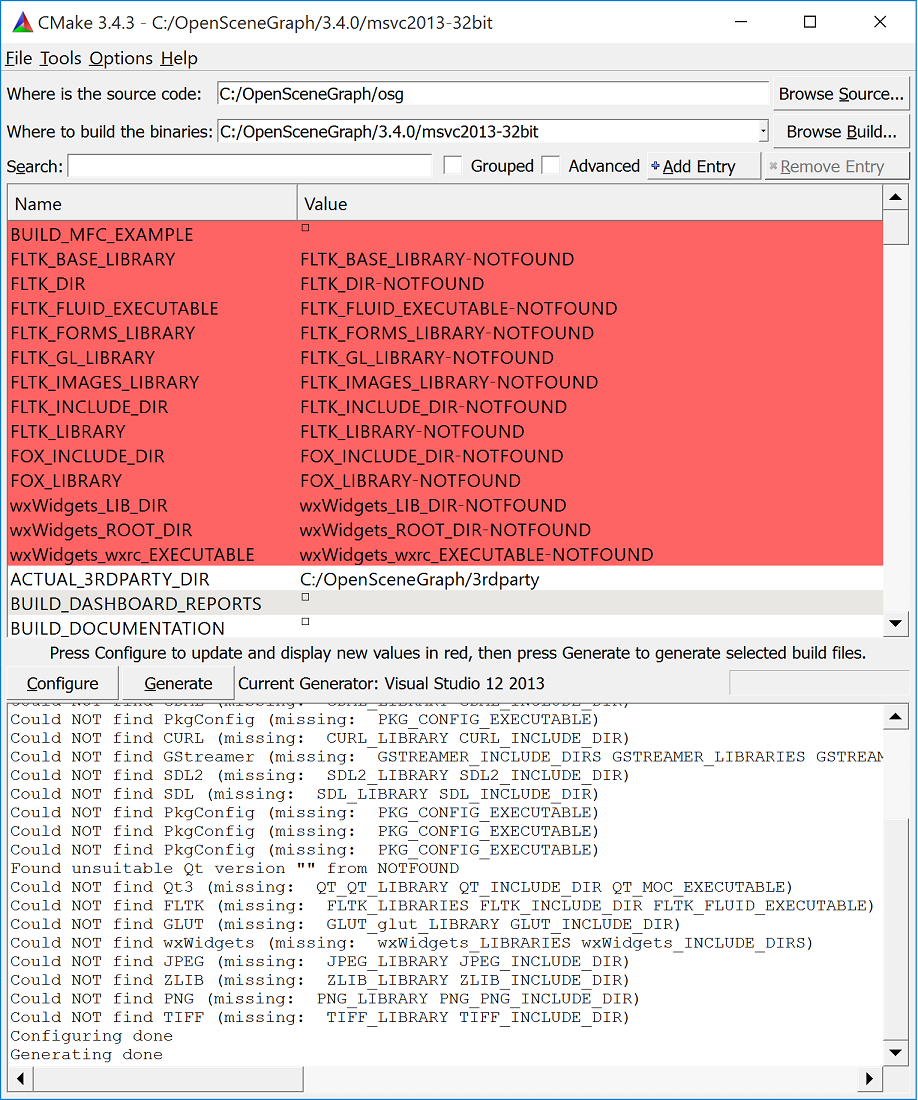
Once first configure is done, you can specify and set some variables. Assuming minimal install, we can check for BUILD_OSG_EXAMPLES as well as specify CMAKE_INSTALL_PREFIX so that it does not contain spaces: we provide the same path as where we have our build directory.
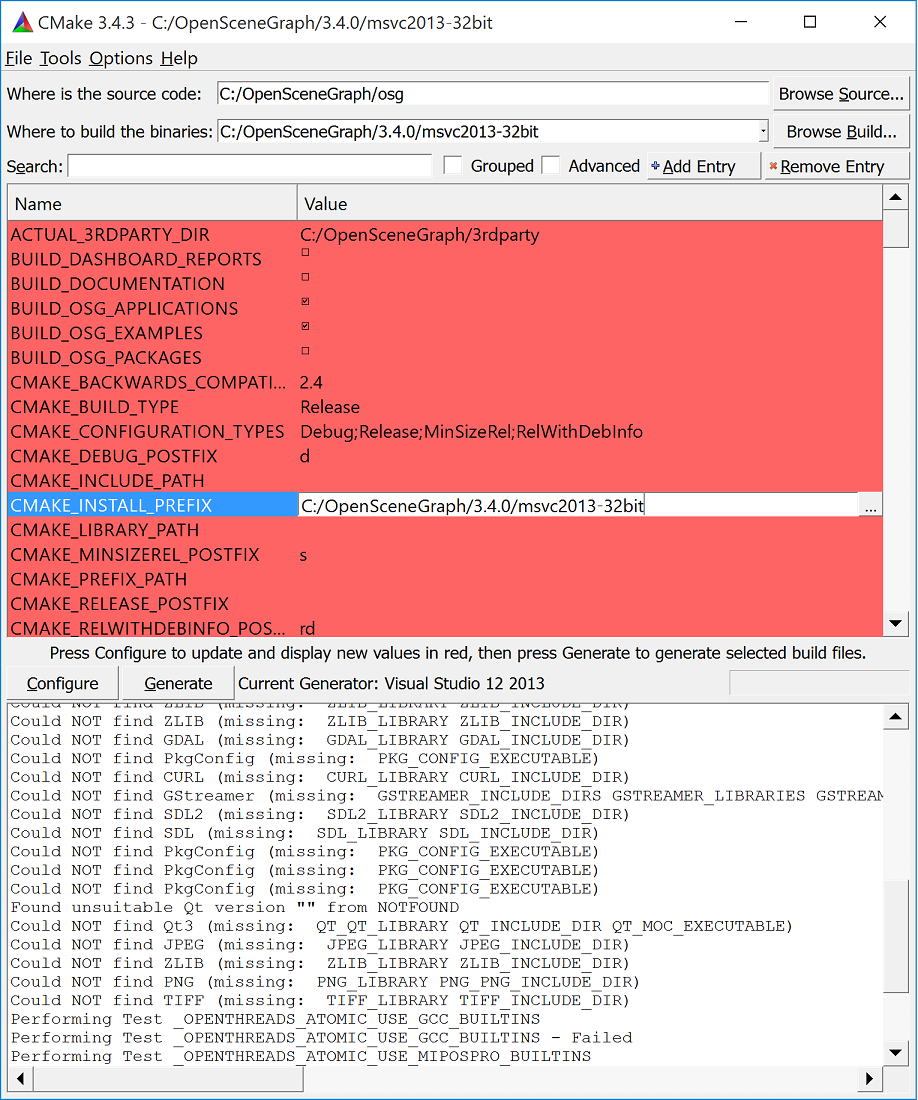
We hit Configure one more time, then we hit Generate.
Building OSG using MSVC compiler
Now the OpenSceneGraph MSVC project is generated and we can proceed to building it using the MSVC compiler. We open OpenSceneGraph.sln file which is located inside the build directory C:\OpenSceneGraph\3.4.0\msvc2013-32bit.
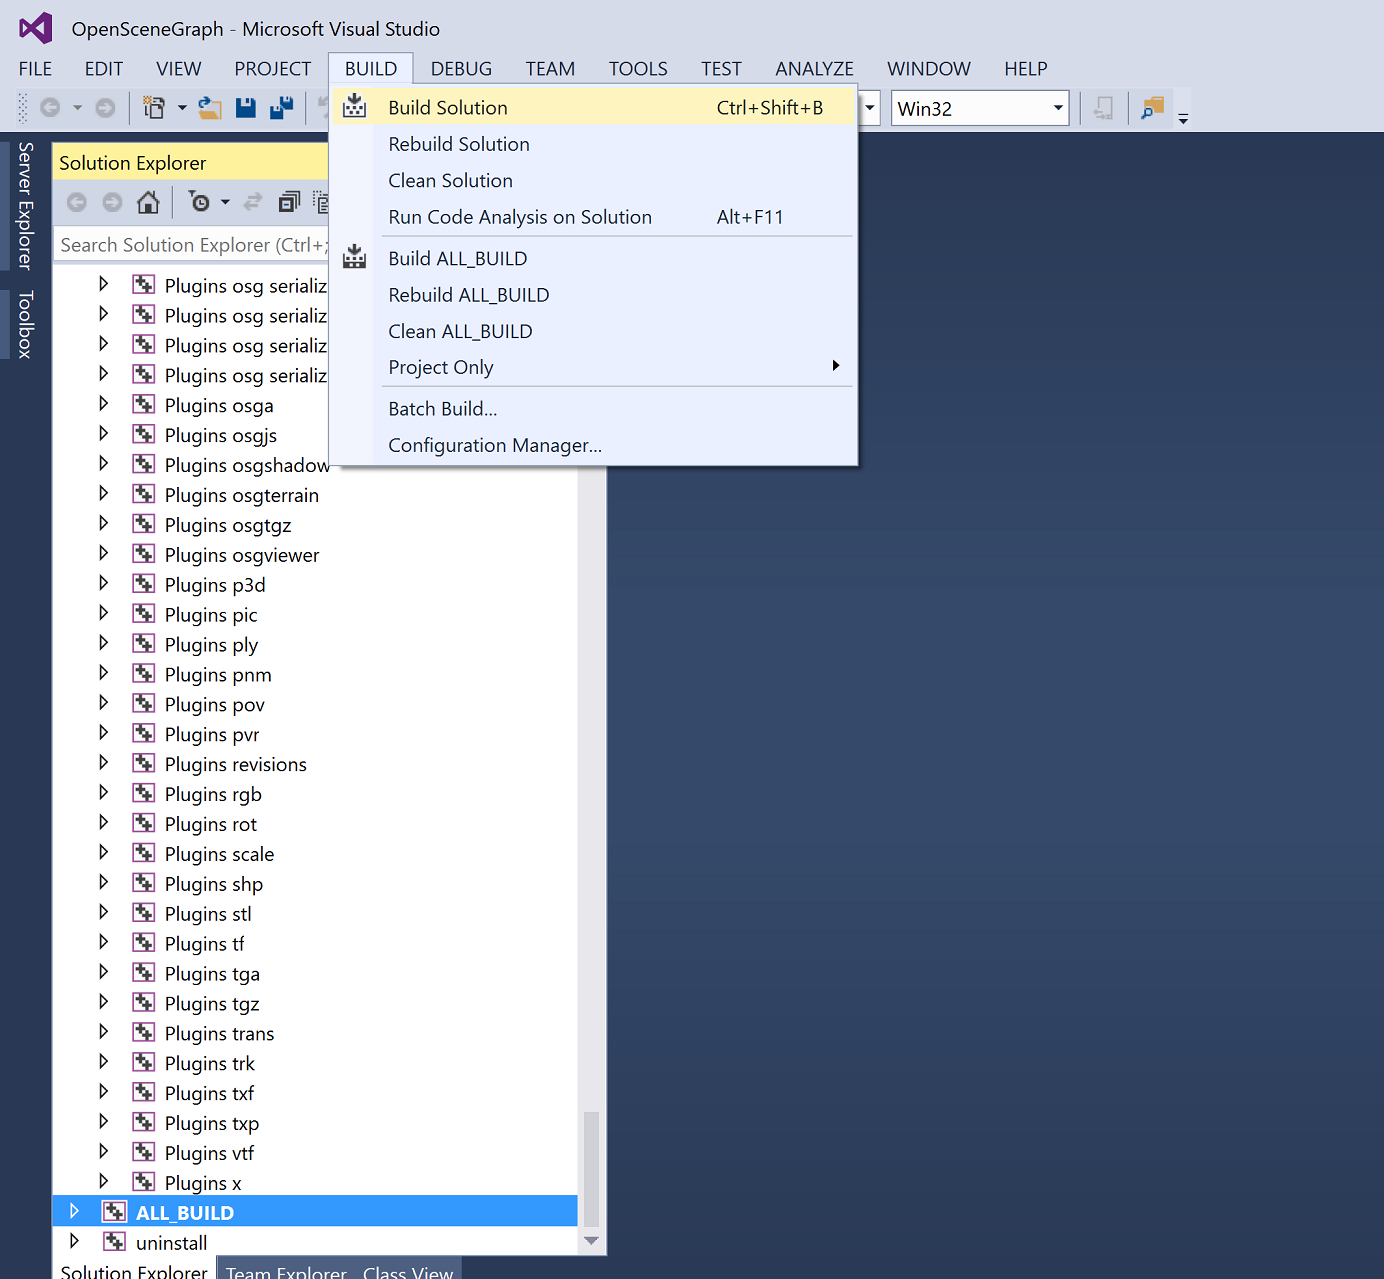
We press Build Solution or, as MSVC suggests, <Ctrl>+<Shift>+B to run the same command.
It might take some times to perform the build. On newer machines - from 20 minutes.
After the build is complete, we need to install it. The installation build performs copying the built files into the right directories (include, lib and bin):
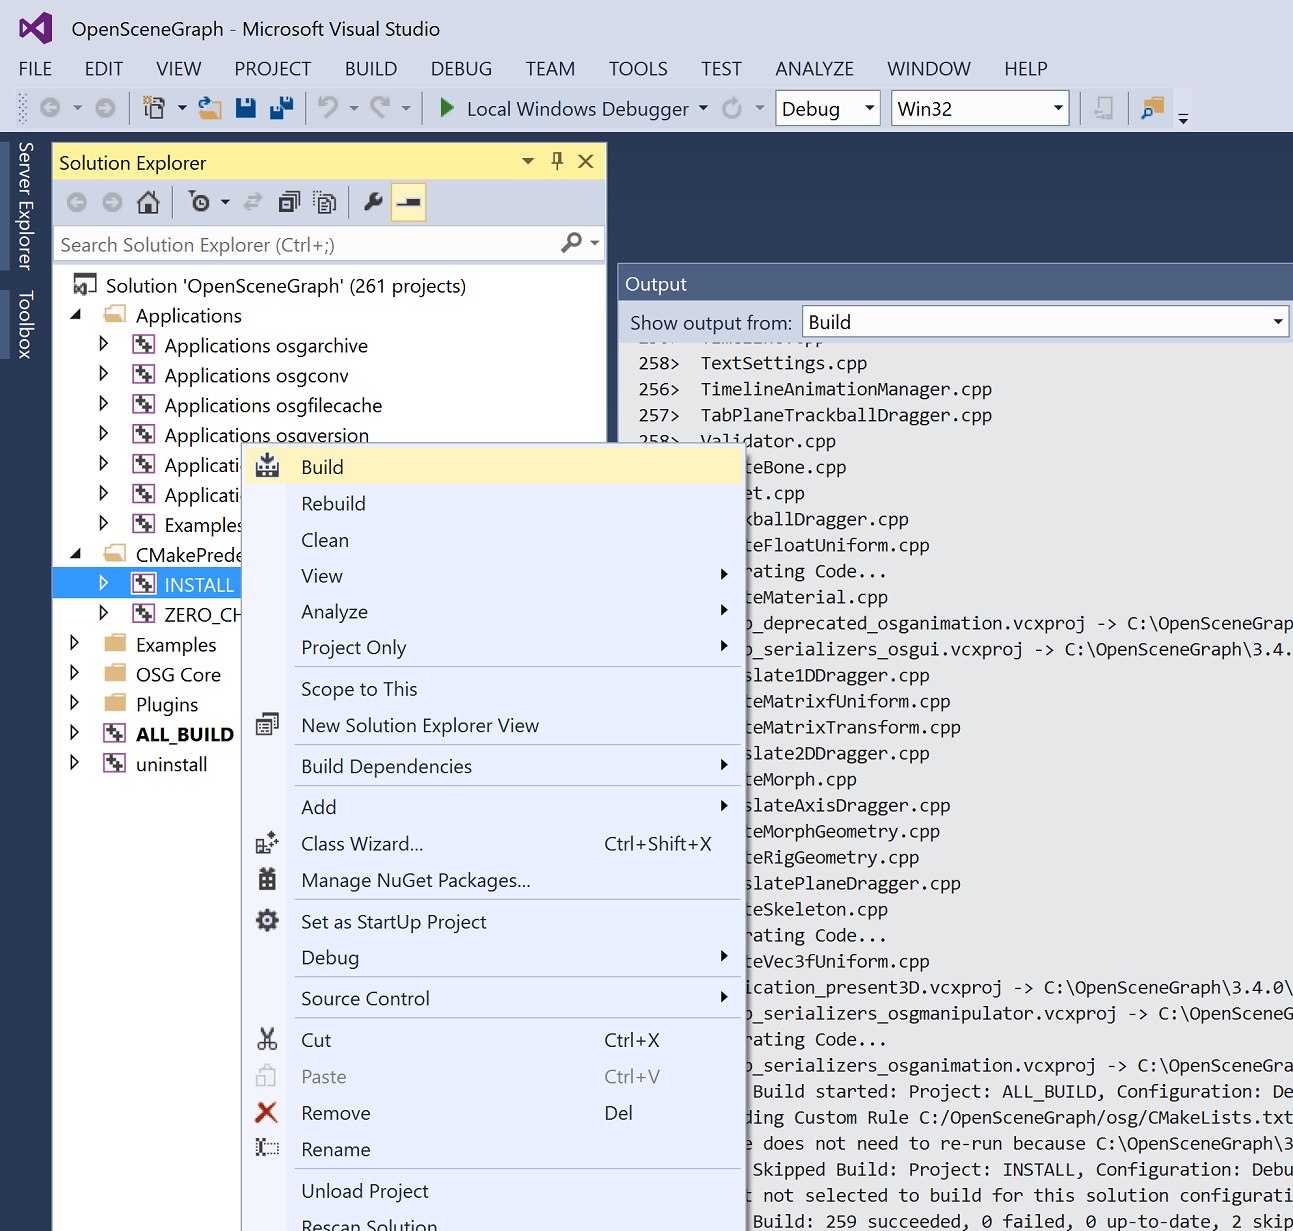
We need to run Build command for INSTALL project as shown on figure above. And this is all you need to perform the build and installation of the OSG library.
Build type
You might want to perform build two times: one is debug mode, and second - in release. To do it, chose the corresponding setting at the MSVC top build menu:
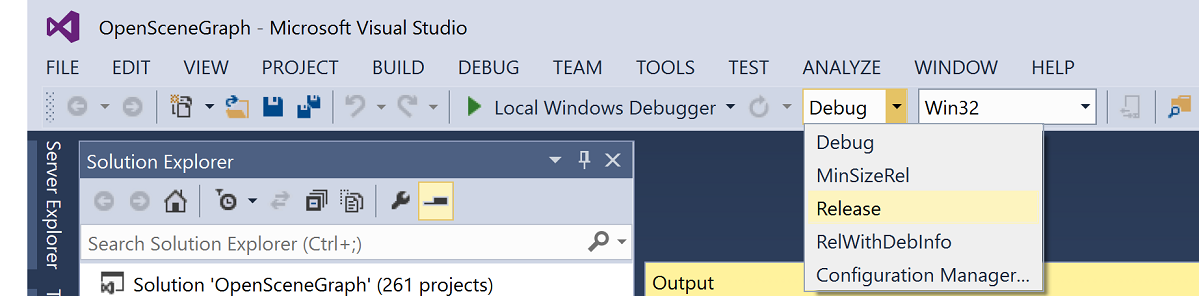
You will need to build the INSTALL project for each of the builds.
Environment variables

In order to use the installed OSG library for your development projects, it is necessary to set up the correct environment variables. I found those are the variables that worked on my new Windows 10 machine with CMake version 3.4.3:
OSG_ROOT = C:\OpenSceneGraph\3.4.0\msvc2013-32bit
OSG_BIN_DIR = %OSG_ROOT%\bin
OSG_INCLUDE_DIR = %OSG_ROOT%\include
OSG_LIB_DIR = %OSG_ROOT%\lib
We must add to the Path variable: %OSG_BIN_DIR%. Now the OSG library is fully built and configured to be used.
Leave a Comment